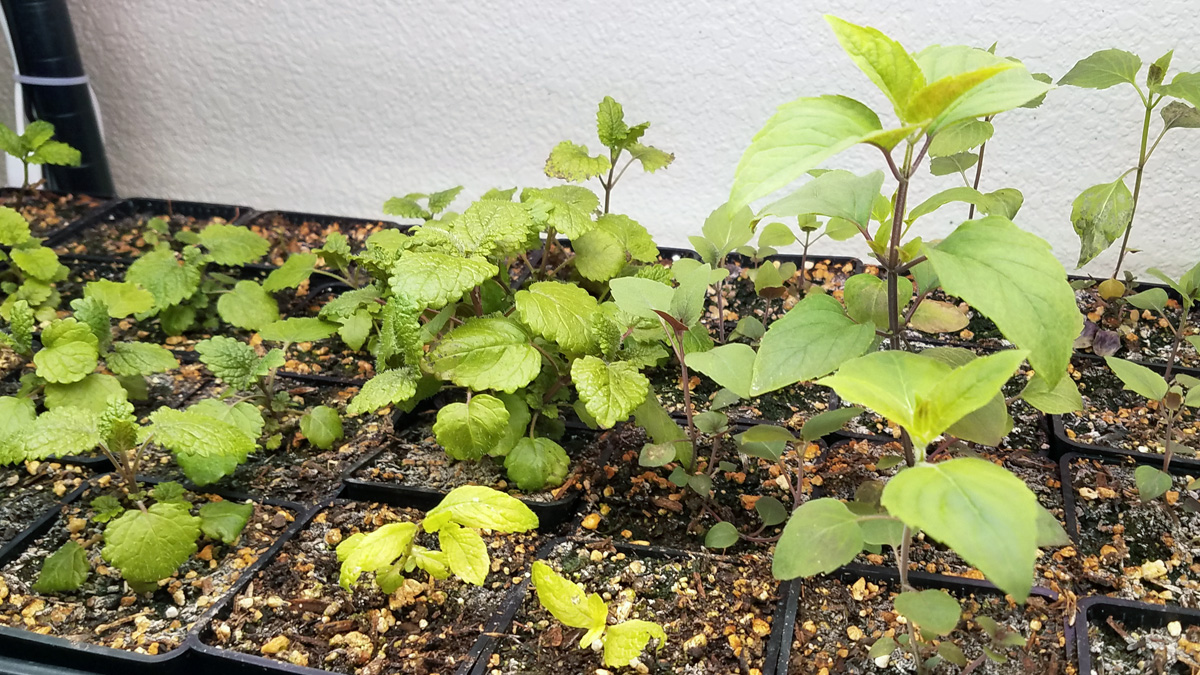
It is February, and for a lot of people, it is time to get a head start on the garden by starting seeds indoors. The process doesn’t have to be intimidating, and doesn’t need expensive equipment. I’ll break out the bare minimum, to get seeds started indoors, and for a lot of people who just want to dabble, the below methods will suffice. However, investing in quality seed starting trays, reusable pots, LED grow lights, a heating mat, and using high quality seed starting mixes will certainly increase your germination rates, and improve the quality of your plant starts.
On Our farm, we plant around 3000 square feet of garden with starter plants, and even more square footage with perennial plant starts in our different evolving landscapes. Needless to say, we start a lot of plants. It makes economical sense for us to have dedicated shelving racks, led lights, and high quality seed starting pots, seed trays, and 1020 watering trays. While we are a small farm with a commercial operation, anybody can reap the benefits of our setup at a smaller scale.
The Bare Minimum
All you need is a container, potting soil or other planting media, and a spot with consistent temperatures in your home. You can skip humidity domes, and specialty starting domes, anything with built in lights, or combo packages.
The only things most seeds need to germinate, is moisture, warmer temperatures, and some daily light exposure.
You can use a regular potting or container mix, and you can sift it or at a minimum pick out large particles like un-composted sticks, which are common in a potting mix.
After picking out the big stuff, hydrate the soil with boiling water, and mix the soil around. The process pasteurizes the soil to get rid of all competition for your seeds from fungus, mold spores, foreign seeds, etc. Let it cool to room temperature before working with the soil.
Fill your starter pots, plastic cups, seed starting trays, paper pots, peat pots, or whatever you plan to use most of the way full with soil, leaving at least a 1/4 inch of room to fill a little more soil later. Just be sure your pots or seed starting containers have drainage holes at the bottom.
Place your seeds in each pot. Depending on the seed, you may put anywhere from 2 to 3 seeds per pot. In the case of exceptionally small seeds like poppy, basil, chive, or mint, you might do even more.
Cover the seeds with a 1/4 inch of your soil, and then lightly water them to help settle the soil and hydrate your seeds. If you have a spray bottle, it can be very helpful for hydrating the soil, but if you don’t, just be careful not to wash away your soil or seed, and water as gently as possible.
Place your pots or cups on a tray, shallow plastic leftover container, or old plate, and place in a consistently warm place in your home with a strong light source. You are aiming for a consistent 65 to 70 degree Fahrenheit daytime temperature, some large windows like bay windows work fairly well.
Keep your soil moist until your seeds sprout, but once they do, switch exclusively to bottom watering. Bottom watering is simply watering the tray the pots are in, and letting the dry soil pull water up through the bottom via capillary action. It helps to prevent over watering and damping off. It also encourages a deeper stronger root system.
That’s it!
That is the most basic way to get seeds started, but germination rates and the quality of your plant starts will vary quite a bit. That is why the pro’s take out the guess work, and invest in seed starting setups that produce high germination rates, and healthier plants.
