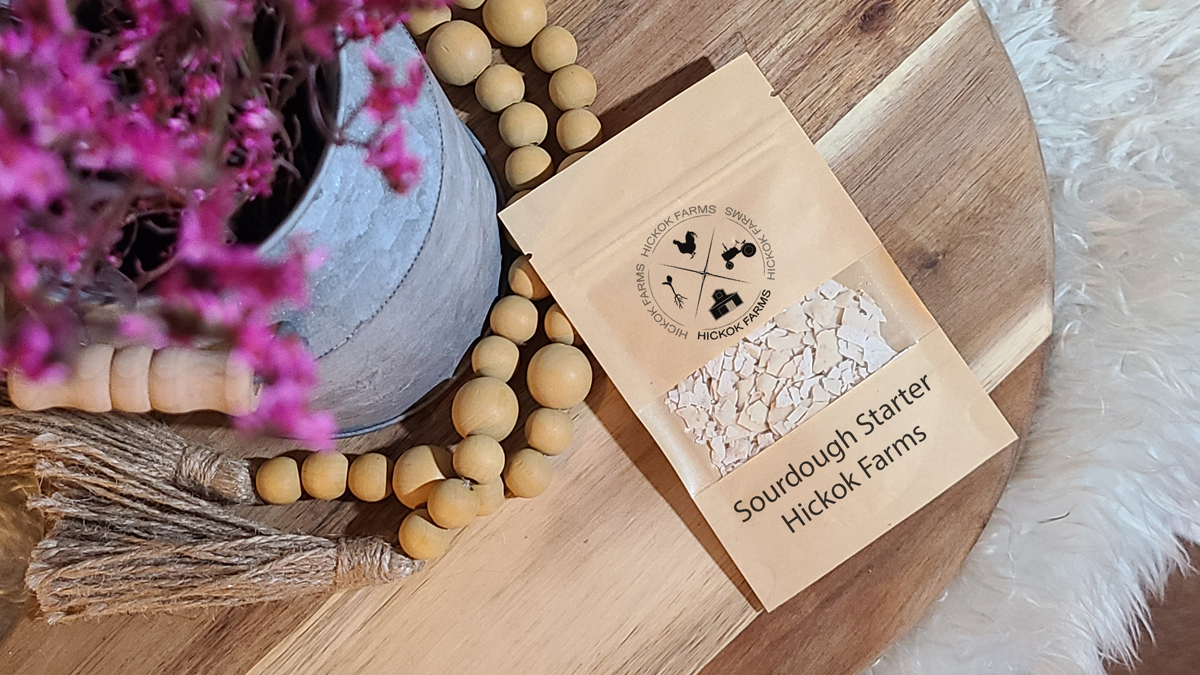
This guide is for you if you have purchased or received a packet of Hickok Farms Sourdough Starter, you’ll need to rehydrate it. This process requires very little work and can be done over a period of 5 days. You will neeed to feed it once a day during those 5 days until you have completed this process. For maintinaing your starter, you can reference our article: maintaining your starter.
Sourdough starter is a living organism. When it is dried properly, the lactic acid bacteria and yeasts remain dormant and can be brought back to an active state. This makes dehydrated starter perfect for long-term storage. The lactobacillus and yeast need to be fed with flour and water to be reactivated. This process must be done in little increments though. Too much flour and water will overwhelm the dry starter and nothing will happen. This is why it takes about 5 days to get it back to baking ready.
A few things to be aware of:
Sourdough starters can have quite a bit of variation. This can be due to the humidity in your environment, or the kind of flour you use for example. Keep this in mind as we go through this process. You may need to adjust the flour or water measurements to fit your environment. If your starter seems too thick, increase the water. If your starter seems too runny, increase the flour. Do this until the desired consistency is met. The end goal is a starter that is not too runny and not too thick. Think of a thick pancake batter. When the starter is at it’s peak active state, it will be spongy like marshmallow fluff.
The temperature will definitely play a role in how quickly your starter gets to its peak active state. The colder your environment is, the longer it will take. The opposite is true as well, a warmer environment will speed things up a bit.
We will be using a kitchen scale for this, as we will be using pretty small quantities. If you do not already have a scale at home, I highly suggest purchasing one. They are a great tool to have in your kitchen and can be found for under ten dollars online.
Once your starter is fully rehydrated, you can then begin to scale up the amount for use in baking.
Equipment needed:
- Glass jar with lid (nothing too huge needed, a regular-sized amazon jar will do)
- Small spatula
- Kitchen scale
Ingredients
- Dried sourdough starter
- Flour
- Warm Water (about 100* F)
Day One
- Combine 5g starter and 25g water in the jar.
- Stir until the starter has been completely submerged.
- Place the lid on the jar and let it sit at room temperature for at least an hour.
- After an hour, add 20g flour to the starter/water mixture. Stir until thoroughly combined.
- This may be more watery than you are used to. This extra hydration is just giving the yeast and bacteria a little kick start.
- Replace the lid and store at room temperature for 24 hours
Day Two
There may or may not be bubbles present at this point. The mixture may look like nothing is happening. This is okay, don’t worry!
- In a bowl, add 10g of the starter mixture (discard the rest).
- Clean the jar for re-use.
- Add 25g flour and 25g water.
- Mix thoroughly and then place back in the jar. Cover with a lid and store at room temperature for another 24 hours.
Day Three
There may be a little more activity in the jar today, we are getting closer!
We are basically going to repeat the process from yesterday.
- Mix 10g of the starter with 25g of flour and 25g of water.
- Place back in the clean jar with the lid on. Let sit for another 24 hours at room temperature.
Day Four
Repeating the same feeding again today.
- Mix 10g of the starter with 25g of flour and 25g of water.
- Place back in the clean jar with the lid on. Let sit for another 24 hours at room temperature.
Day Five
The starter should have nearly doubled in size and there will be obvious bubbles throughout the mixture.
We are going to repeat the feeding again today.
- Mix 10g of the starter with 25g of flour and 25g of water.
- Place back in the clean jar with the lid on. Place a rubber band around the jar at the level of the starter. Once the starter has at least doubled in size, it is considered “active” and ready to use in baking. It is at this point that you can store your starter in the fridge for less consistent baking schedules.
Increasing the volume to use in recipes
Instead of discarding any starter during a feed, just start by measuring the amount of starter you have and using that as your baseline for feeding (see the article on maintaining a starter for more information). Ex. If you have 60g starter in your jar, you will want to add 60g flour and 60g water for this feed. You can continue this until you have enough for your recipe and enough to maintain your starter.
Tips:
When baking, make sure you don’t use all of your starter in one recipe. You want to leave enough to maintain for future use. Your starter can last indefinitely if you maintain it properly.

[…] you just purchased some of our Hickok Farms Dehydrated Sourdough Starter and need to Rehydrate You Sourdough Starter, or you just need a refresher on Maintaining Your Starter, we’ve got you covered. Just follow […]