How to Bake Sourdough Bread
Sourdough bread is the perfect starting place for a beginner baker, especially on the homestead. It’s simple, time-honored, and doesn’t rely on store-bought yeast—just flour, water, and the wild yeast already in your home. Learning to bake sourdough connects you to old ways of doing things: slow, seasonal, and deeply satisfying. It might take a little patience, but once you bake your first loaf, you’ll see it’s less about perfection and more about intuition, rhythm, and nourishing your family with what you’ve got on hand.
If you just purchased some of our Hickok Farms Dehydrated Sourdough Starter and need to Rehydrate You Sourdough Starter, or you just need a refresher on Maintaining Your Starter, we’ve got you covered. Just follow the links!
Ingredients
To bake sourdough bread, you need just a few basic ingredients:
- Flour – I typically only use all purpose, but have also mixed in some whole wheat in the past. If you want to get fancy, you can use bread flour.
- Water – Filtered or distilled water works best.
- Salt – Fine sea salt enhances flavor.
- Sourdough Starter – A mixture of flour and water fermented with wild yeast and bacteria. If you don’t have one, you can make your own using this guide (link) or pick up some dehydrated starter from our farm store (link)!
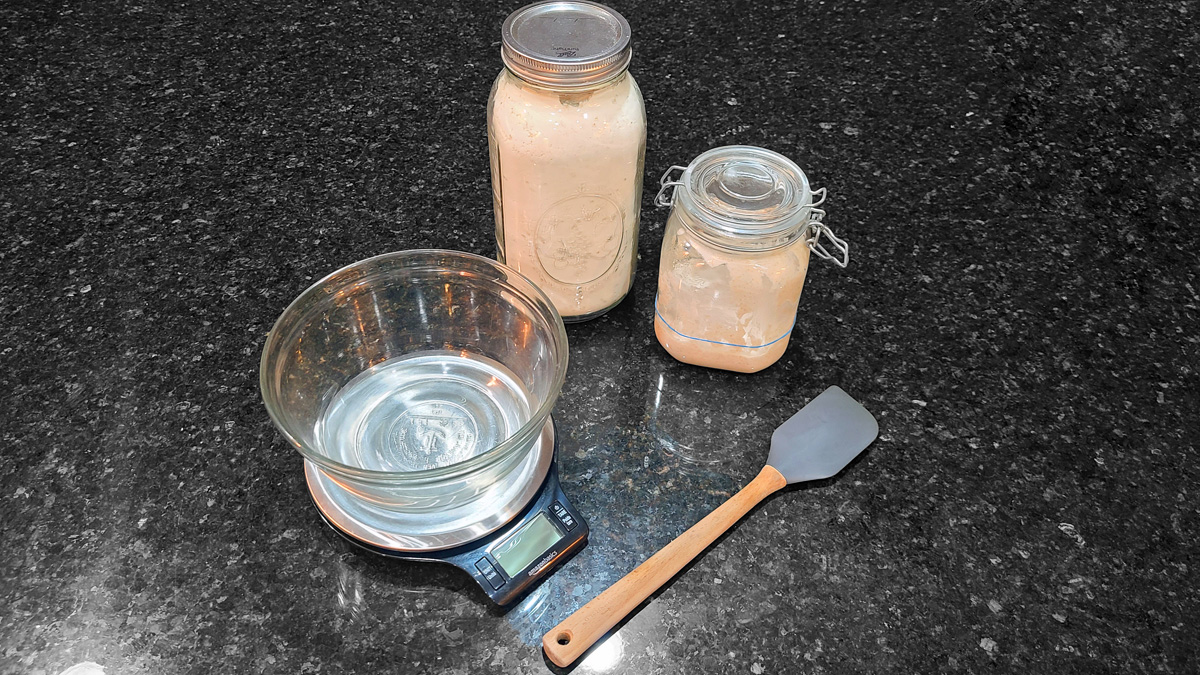
Equipment
- A large mixing bowl
- A kitchen scale (optional but recommended for accuracy)
- A proofing basket (banneton) or a bowl lined with a kitchen towel
- Bread Sling or Parchment Paper
- A Dutch oven or baking stone
- A sharp knife or razor blade (for scoring), these are also called a “bread lame”
Steps to Bake Sourdough Bread
- Prepare the Starter Ensure your sourdough starter is active and bubbly. Feed it 4-8 hours before baking, depending on your room temperature. If you don’t know how to feed your starter, check out our guide on maintaining a starter (link).
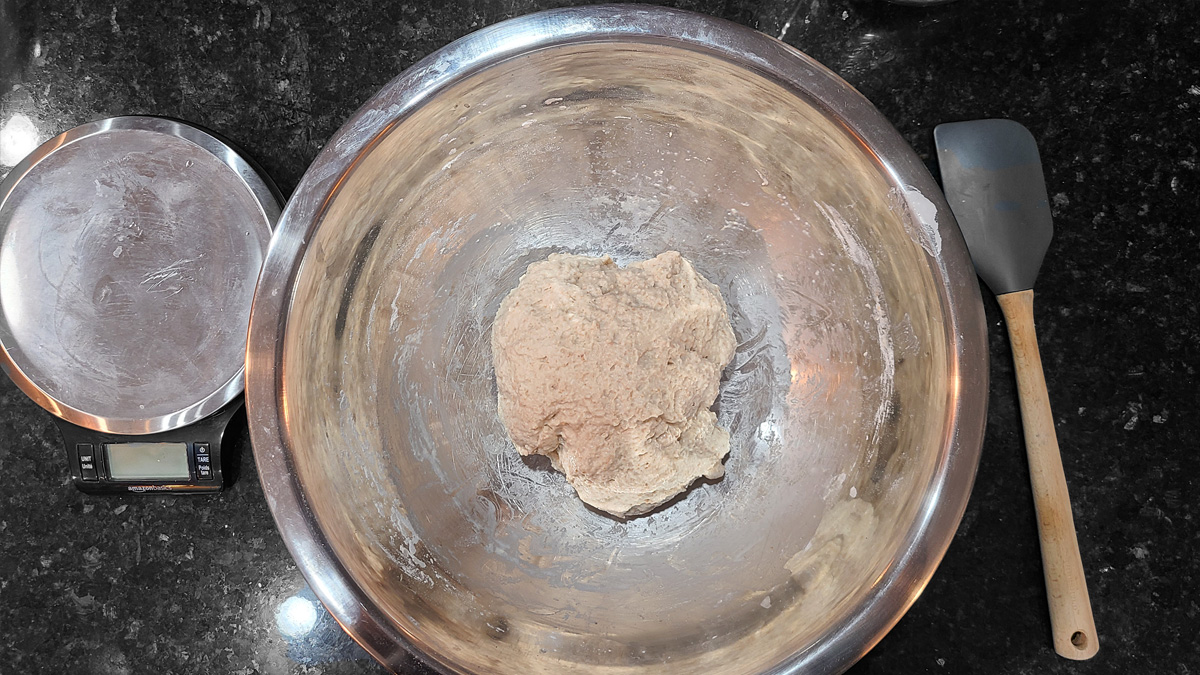
Mix the Dough
- In a large bowl, combine 365g of water and 125g of active starter. Mix until the water becomes milky.
- Add 500g of flour and mix until no dry flour remains.
- Let the mixture rest for 1 ½ to 2 hours. This rest period, known as autolyse, helps develop the gluten.
- Add Salt: Sprinkle 12g of salt over the dough. Perform “stretch-and-folds” for about 3 min to incorporate the salt well. To stretch and fold, grab one side of the dough, pull it upward, and fold it over the center. Rotate the bowl and repeat on all sides.
Bulk Fermentation
- Cover the bowl and let the dough ferment at room temperature for about 2 hours. This step will be done when the dough passes the “window pane” test.
- Gently stretch the dough between your fingers, pulling it outwards from the center to form a thin, translucent sheet.
-
- Observe the stretched dough:
- If the dough stretches easily and becomes thin enough that you can see light through it without tearing, the gluten is well-developed. This is a sign that your dough is ready for the next step.
- If the dough tears quickly without forming a thin sheet, it means the gluten needs more work. You can knead the dough further or allow additional rest periods (like autolyse or stretch-and-fold) to help gluten development.
Shape the Dough
- Once the dough has passed the window pane test, turn it out onto a lightly floured surface.
- Stretch out the dough into a large rectangle.
- Fold it into thirds.
- Roll the dough towards you, creating an almost loaf shape.
- Using either your hands or a dough scrape, gently shape the loaf into a round boule, taking care not to deflate it.
- Cover and let sit for 15-20 min.
- Repeat this process one more time shaping the dough into the shape of your banneton (round vs. oval).
- Place the shaped dough upside down into the floured banneton.
Final Proof
- Cover the dough and let it proof for 1-2 hours at room temperature or overnight in the refrigerator for a slower, more flavorful rise.
Preheat the Oven
- Preheat your oven to 500°F with a Dutch oven (including the lid) or baking stone inside. This ensures an even bake and helps create steam for a crisp crust.
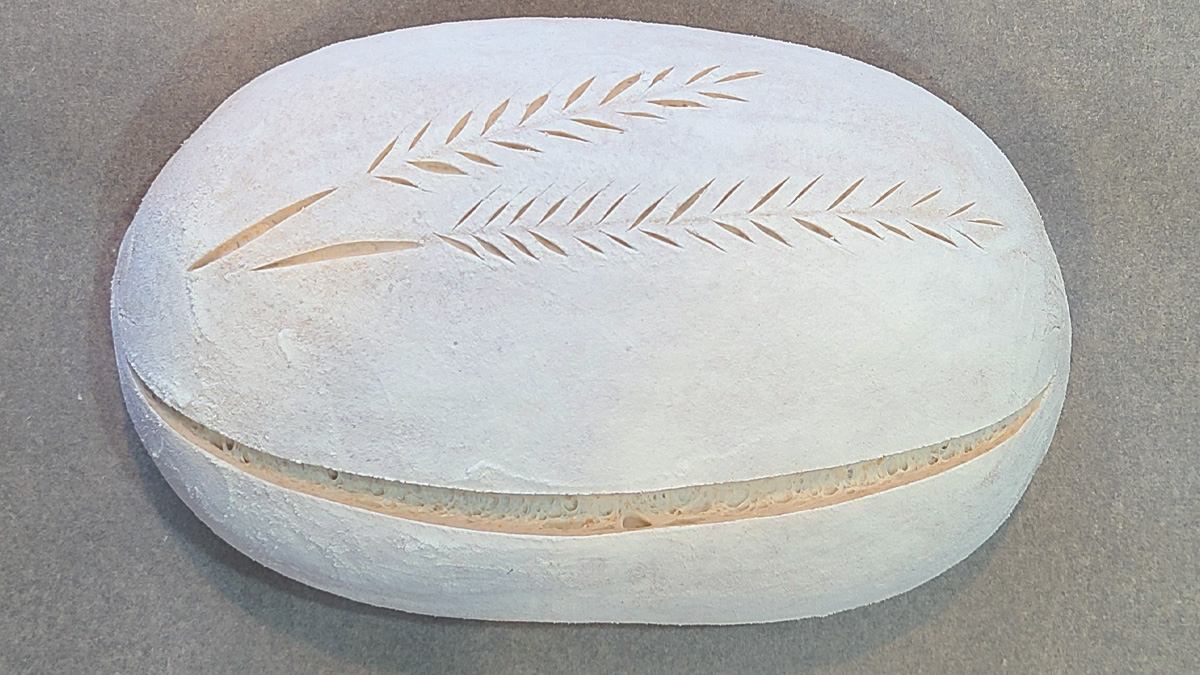
Score and Bake
- Carefully turn the dough onto a bread sling or parchment paper.
- Use a sharp knife or a bread lame to score the top. This allows the bread to expand in the oven. Let your creativity shine here!
- Transfer the dough (with parchment) into the preheated Dutch oven. Cover and bake for 20 minutes.
- Lower the oven temperature to 450°F
- Remove the lid and bake for another 20-25 minutes until the crust is golden brown.
Cool
- Let the bread cool completely on a wire rack before slicing. This allows the interior to set and enhances flavor.
Tips for Success
- Be Patient: Sourdough bread takes time, but the results are worth it.
- Keep Notes: Document your process to understand how changes affect the outcome.
- Practice Regularly: Each bake teaches you something new about your dough and environment.
Congratulations! You’ve just baked your own sourdough bread. Enjoy it fresh with butter, cheese, or your favorite spreads. Happy baking!